Welcome to XOD, Maker!

In XOD, we do not use text to code; we use visual objects instead.
This large gray area with boxes is your program. It’s called a patch. Patches are like documents or source files in other systems.
Several related patches form a project. Currently you are working on a project named welcome-to-xod.
Exercise #
Let’s learn how to navigate a project.
-
On the left-hand side, you will find a list of patches grouped by a project or library name. The list is called a Project Browser. The first item in it is
welcome-to-xod. Expand the project by clicking on it. -
As you can see, the tutorial consists of many patches. Right now, you are in the patch
001-hello. The next chapter of the tutorial is in the patch002-simulate. Double-click it, and let’s meet there!
👆 Web hints #
If anything goes wrong or you have no idea what to do, we have hints for every patch on the web.
Alternative tutorial #
If you want to learn programming microcontrollers with XOD by making a smart and pretty looking tabletop device, check out the Amperka Colony Kit.
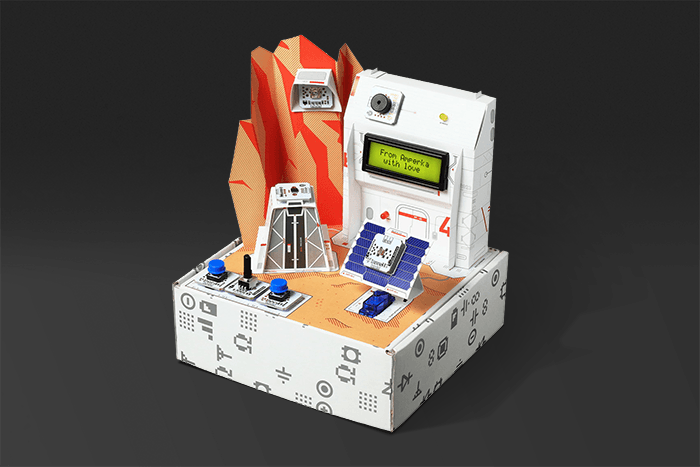
It contains a microcontroller, sensors, actuators, and a paper guide with an exciting story inside.