This page has no translation to Español yet. The original English version is below. If you’d like to help, great! See how to translate a documentation page in the contribution guide.
Note
This is a web-version of a tutorial chapter embedded right into the XOD IDE.
To get a better learning experience we recommend to install the
desktop IDE or start the
browser-based IDE, and you’ll see the same tutorial there.
Using Your New Node
Now you can use the new node just like any other.
Instructions #
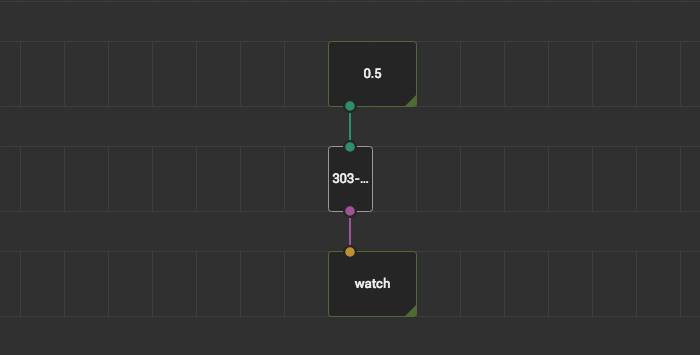
- Drag’n’drop your
betweennode from Project Browser to this patch and replace the303-...node with it. - Add a few more
between’s: double click on empty space and type “between”. Your node is here and denoted as@/between. - Bind some values to the inputs of new
betweennodes, add sometweak-numberandwatchnodes to play. - Run simulation to check how the new node works.
Paths starting with @/ #
The at (@) symbol in the patch path shown by the quick search suggester denotes “this project”. That is, the node is located in the current projects, not in a library.
<- Place your between node instead